
How to Photograph Gulls in Flight
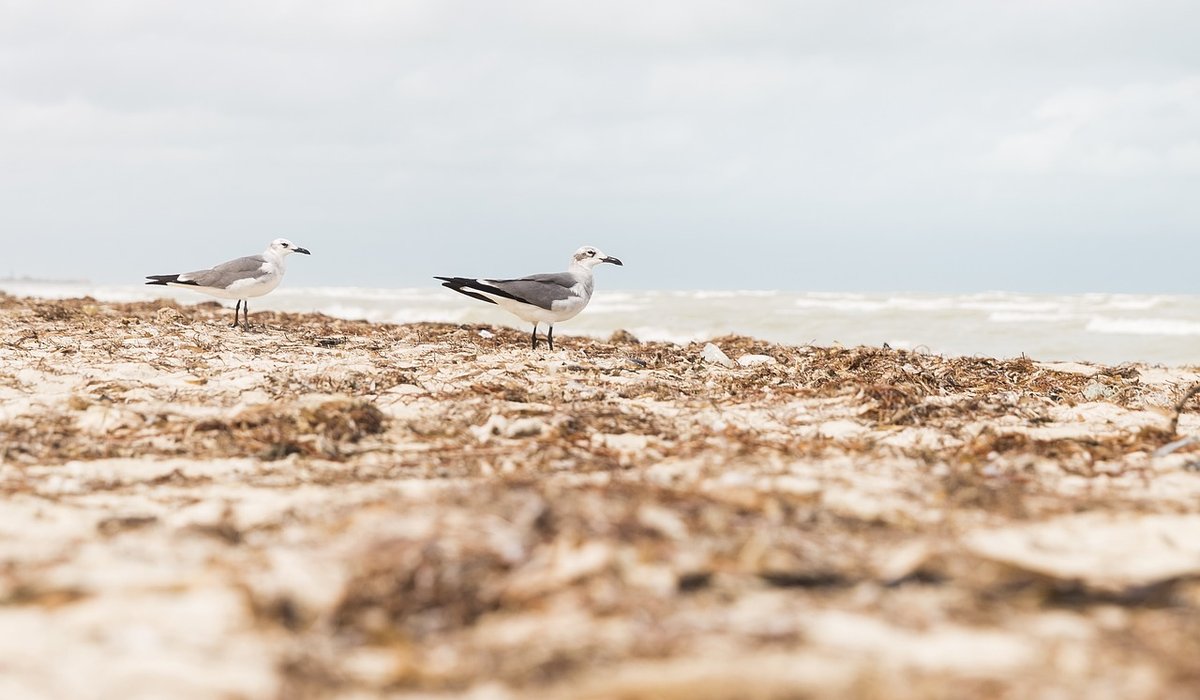
Why Gulls Are Worth Your Time
Gulls get a rough reputation, mostly from people who have had a chip stolen on a seafront. As photographic subjects, though, they are close to ideal: large, abundant, endlessly variable in pose, and they fly in a way that flatters a careful photographer. A herring gull banking into the wind with its wings spread against a slate-grey sea is one of the most dramatic images the British coast has to offer, and you can capture it from a harbour wall with a modest zoom lens.
What makes them so good for practice is that they are predictable. Work out their flight lines and you can stand in one spot and let the birds come to you rather than trudging after them. That single shift in approach will improve your hit rate more than any upgrade.
Camera Settings That Work Every Time
Start in shutter priority, often marked S or Tv, and treat 1/1000sec as your absolute floor. For birds gliding fast along a cliff or stooping towards the water, push to 1/1600–1/2000sec. A soft image caused by motion blur is the most common disappointment in bird photography, and it is entirely preventable.
Build the rest of your settings around that:
- Aperture: f/5.6 to f/8 is the sweet spot. It keeps your subject sharp while giving you a fighting chance of holding focus as the bird moves through the frame.
- ISO: set it to auto and cap it at 3200, or 6400 on a newer body. A slightly noisy sharp frame beats a clean, blurry one every time.
- Drive mode: the fastest continuous burst you have. Shoot short bursts of three to five frames rather than holding the button down for the whole pass.
- Autofocus: continuous mode (AI Servo or AF-C) with a single point or a small zone. Wide-area modes tend to lock onto the sea behind the bird.
- Exposure compensation: add +1/3 to +1 EV. Gulls are white against bright skies, and your meter will try to turn them grey.
If your camera lets you set shutter and aperture manually with auto ISO, use it. That combination gives you the most control with the fewest surprises. Shoot RAW if you can — white plumage against a bright sky is exactly the kind of scene that benefits from a little recovery in editing.
Read the Wind, Read the Light
Wind is your most useful tool. Gulls fly into it, so a stiff onshore breeze at a headland or pier end means birds hovering almost stationary at eye level — a gift. Watch where the updraft pushes up a cliff face and position yourself level with that band of air. On calm days, look for the flight lines between a roost and a feeding area: harbour mouths, estuaries and the edge of a rising tide all funnel birds past a predictable point.
Light matters just as much. Early morning and late afternoon give you warm, low light that separates a white bird from a blue sea. Hard midday sun blows out the highlights on a gull's back and leaves deep shadows under the wings. An overcast day can actually be excellent, providing soft, even light that reveals feather detail — though you will want to keep the sea, not a flat grey sky, behind your subject.
Wherever possible, get the sun behind you and slightly to one side. Front-lit birds show clean detail; backlit birds become silhouettes, which can be beautiful but is a deliberate choice rather than an accident.
Fieldcraft: Let the Birds Come to You
Most beginners chase. Resist it. Pick a spot on a flight line, plant your feet, and wait. Gulls quickly accept a still, quiet figure and will pass within a few metres. Move slowly, keep low if you are on a beach or rock ledge, and avoid sudden arm movements.
A few practical habits make a real difference:
- Stand with the wind on your back or side so birds approach you head-on or in profile.
- Pre-focus on the patch of sky or water where you expect the bird, then track it as it arrives.
- Avoid feeding the birds. It changes their behaviour, draws in a crowd, and rarely produces natural-looking images.
- Keep an eye on the background. A gull against a clean sea or open sky reads far better than one against a car park.
You Don't Need Expensive Gear
A 70–300mm lens is plenty for gulls, because the birds will often come close. Bridge cameras with a long built-in zoom can produce excellent flight shots. Even a kit telephoto will work if you accept that you may need to crop later, which is why it pays to keep the bird central in the frame and leave a little space around it.
What you genuinely need is a camera that lets you set a fast shutter speed and shoot in bursts. That is a much lower bar than most people assume. Practise panning smoothly with your whole upper body rather than just your wrists, and keep both eyes open so you can see the bird approaching outside the frame.
Five Mistakes to Avoid
- Shutter too slow. If your wings are smeared, raise the speed before you blame the lens.
- Focusing on the body. Aim for the head or eye; a sharp eye forgives a slightly soft tail.
- Chasing birds. You will tire yourself out and get worse photographs. Find the flight line and wait.
- Shooting into the sun. Unless you want a silhouette, reposition so the light falls on the bird.
- Not checking your histogram. Blown-out white feathers cannot be recovered. Check the first few frames and adjust exposure compensation.
Give it one tide cycle on a breezy headland with a fast shutter speed and a bit of patience, and you will come home with images that rival anything taken with far pricier kit.


These charismatic seabirds return to specific cliff colonies each spring. Discover respectful ways to watch them without causing disturbance.
Keep your food safe and gulls wild by choosing covered bins, avoiding hand-feeding and eating away from nesting areas.
Dawn offers calm conditions and active birds. Learn how to plan a productive coastal walk before the crowds arrive.
Tide times change where birds feed and roost. This guide helps you choose the best window for a coastal survey.